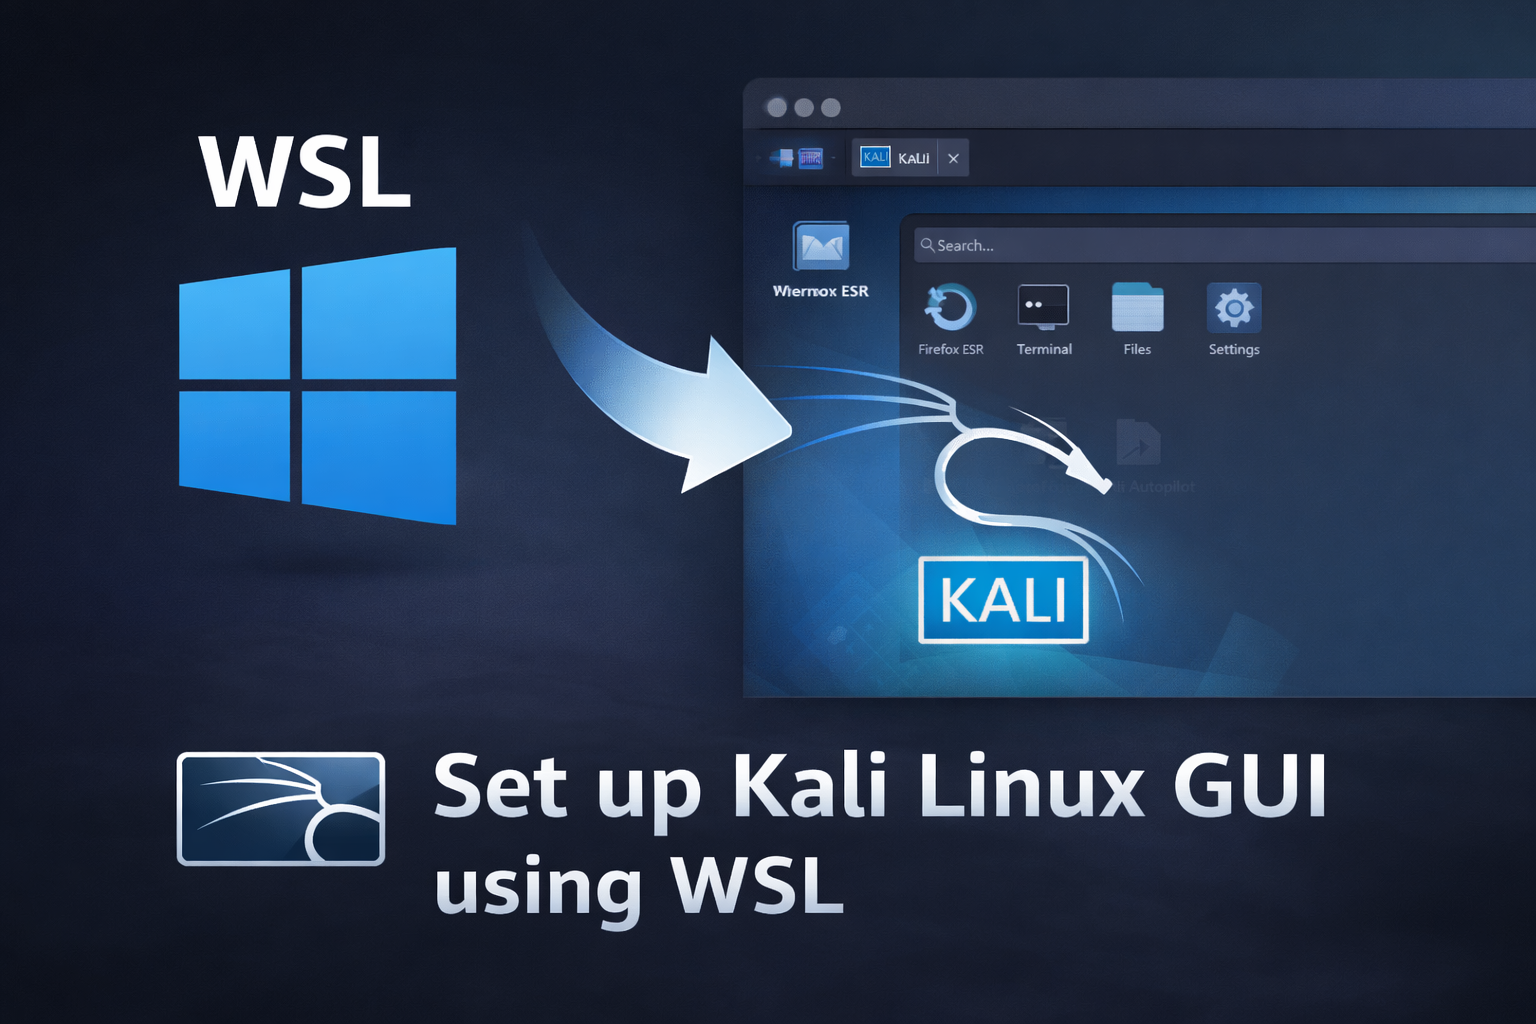
Set up Kali Linux GUI using WSL
Windows Subsystem for Linux (WSL) is a compatibility layer that enables you to run Linux distributions natively on Windows 10 and Windows 11. With WSL 2, you can now run a full Linux kernel with improved performance and complete system call compatibility.
Running Kali Linux GUI through WSL gives you access to powerful penetration testing tools and a complete Linux desktop environment without dual-booting or using virtual machines. This setup is ideal for security professionals, ethical hackers, and students learning cybersecurity on Windows machines.
Prerequisites
Before starting, ensure you have the following:
- Windows 10 version 2004 or higher (Build 19041+) or Windows 11
- WSL enabled on your system
- Administrator privileges to install packages
- At least 20GB of free disk space
- Virtualization enabled in BIOS/UEFI
- Stable internet connection for downloads
To check your Windows version, press Win + R, type winver, and press Enter.
Step-by-Step Setup Guide
Step 1: Enable WSL and Install Kali Linux
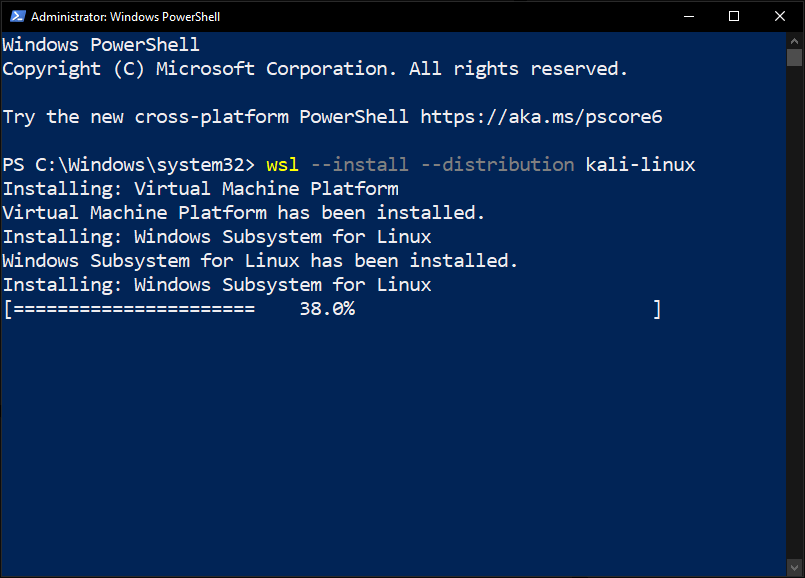
Open PowerShell as Administrator and run the following command to install WSL with Kali Linux:
wsl --install -d kali-linuxThis command will automatically enable WSL, install the Linux kernel update, and download Kali Linux. If WSL is already installed, you can simply install Kali using:
wsl --install kali-linuxAfter installation completes, restart your computer when prompted.
Step 2: Initial Kali Linux Configuration
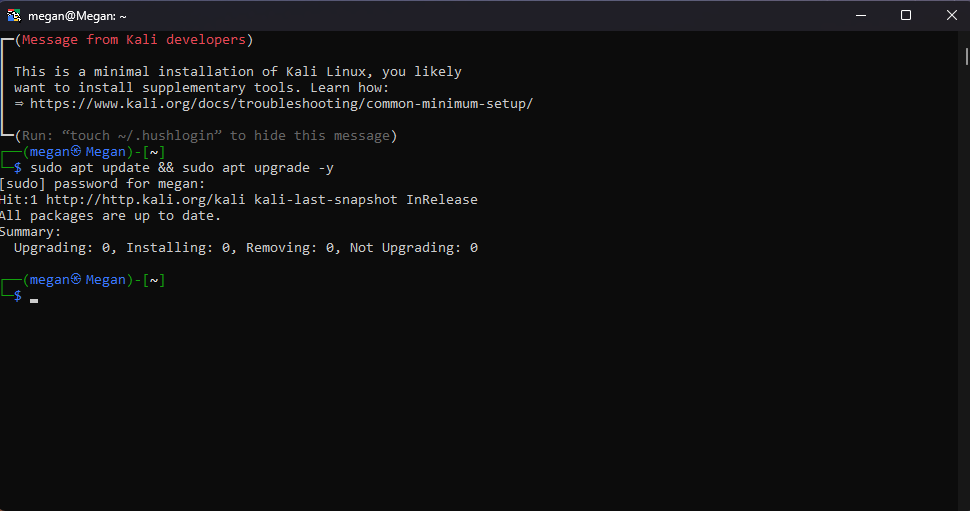
After reboot, launch Kali Linux from the Start menu. On first launch, you'll be prompted to create a UNIX username and password. Choose a username (lowercase, no spaces) and a secure password.
Once logged in, update the package list and upgrade existing packages:
sudo apt update && sudo apt upgrade -yThis process may take several minutes depending on your internet connection.
Step 3: Install Kali Desktop Environment
Kali Linux offers several desktop environments. For this guide, we'll install Xfce, which is lightweight and well-suited for WSL:
sudo apt install -y kali-desktop-xfceThis installation will download approximately 2GB of packages. The process typically takes 15-30 minutes.
Alternatively, you can install other desktop environments:
- GNOME:
sudo apt install -y kali-desktop-gnome - KDE:
sudo apt install -y kali-desktop-kde - LXDE:
sudo apt install -y kali-desktop-lxde

Step 4: Configure WSLg for GUI Display
Windows 11 and recent Windows 10 builds include WSLg (Windows Subsystem for Linux GUI), which provides native GUI support. Verify WSLg is working by checking the DISPLAY variable:
echo $DISPLAY
You should see output like :0 or :1. If the variable is empty, you may need
to update WSL:
wsl --updateRun this command in PowerShell (as Administrator) on your Windows host.
Step 5: Start the Kali Desktop Environment
There are two methods to launch the Kali GUI:
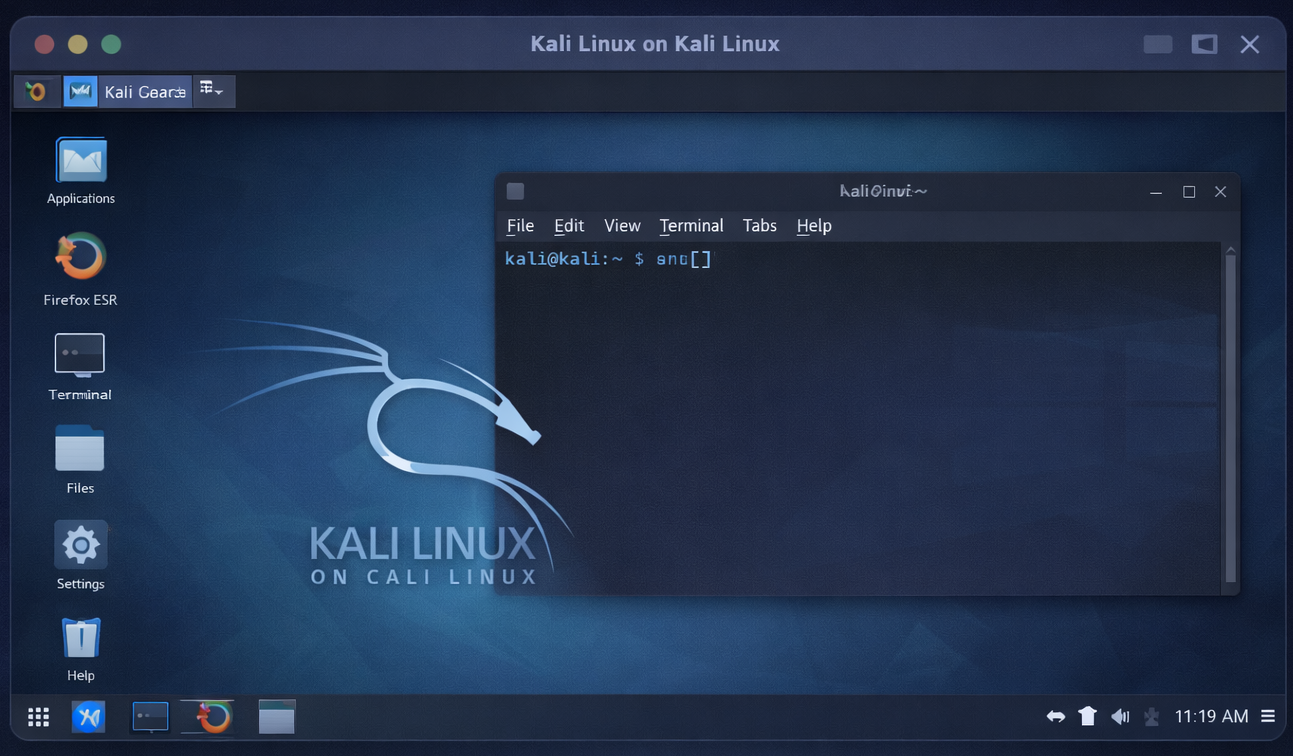
Method 1: Using startxfce4 (Recommended)
In your Kali terminal, run:
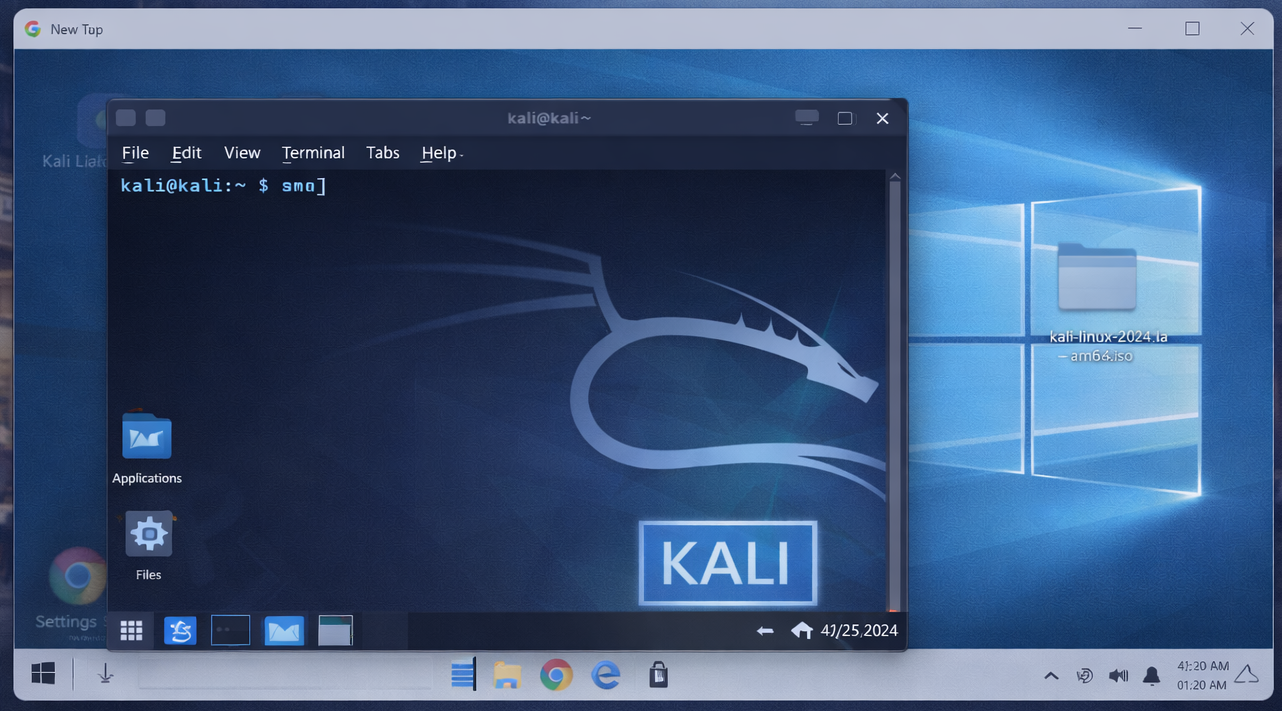
startxfce4The Xfce desktop will launch in a new window. You can now use Kali Linux with a full graphical interface.
Method 2: Using kex (Kali Win-KeX)
First, install Win-KeX:
sudo apt install -y kali-win-kexThen launch Kali GUI using:
kex --win -s
This opens Kali in a seamless window mode. Use kex --sl for SL mode or kex --esm
for Enhanced Session Mode.
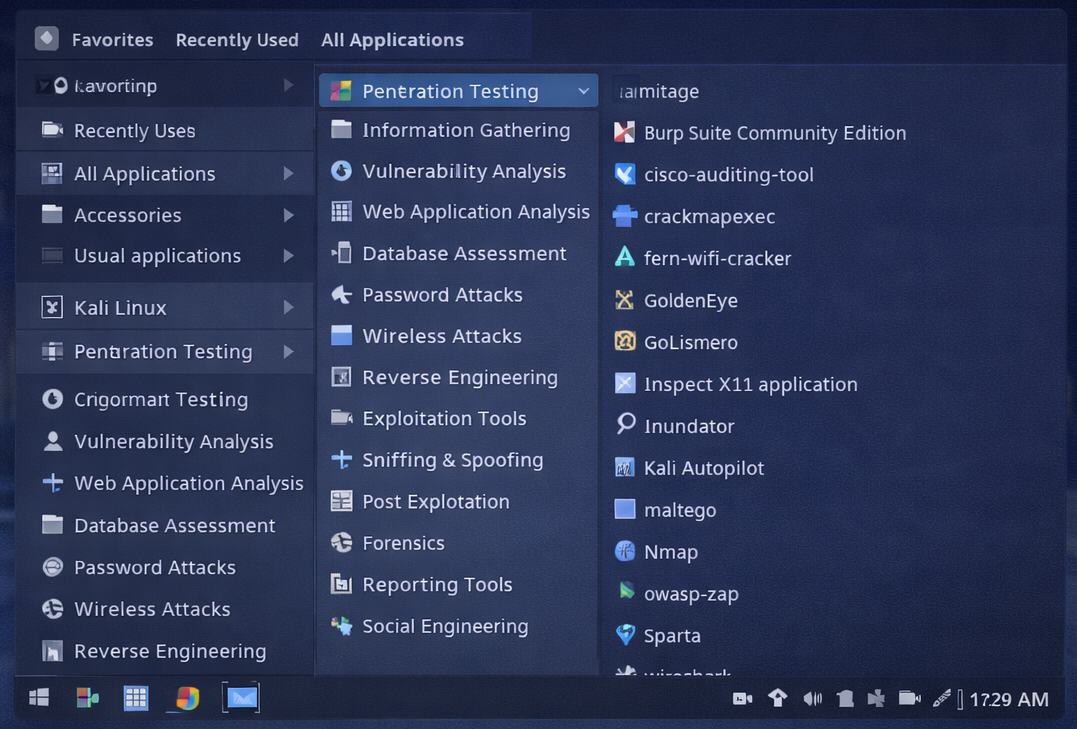
Step 6: Install Common Penetration Testing Tools
While Kali includes many tools by default, you may want to install the full metapackage:
sudo apt install -y kali-linux-largeFor a complete toolkit with all tools:
sudo apt install -y kali-linux-everythingWarning: The "everything" package is very large (30GB+). Only install if you have sufficient disk space and need all tools.
To install specific tool categories:
- Web application tools:
sudo apt install -y kali-tools-web - Wireless tools:
sudo apt install -y kali-tools-wireless - Forensics tools:
sudo apt install -y kali-tools-forensics
Troubleshooting
Issue: "WSL 2 requires an update to its kernel component"
Solution:
Download and install the WSL2 Linux kernel update package from Microsoft's official website, then restart your computer and try again.
wsl --updateIssue: GUI applications won't start or display is blank
Solution:
- Ensure you're running Windows 11 or Windows 10 with build 19044+ (21H2)
- Update WSL:
wsl --update(in PowerShell as Admin) - Restart WSL:
wsl --shutdown, then relaunch Kali - Check DISPLAY variable:
echo $DISPLAY
Issue: "Virtualization is not enabled"
Solution:
Restart your computer and enter BIOS/UEFI settings (usually by pressing F2, F10, or Del during boot). Look for "Virtualization Technology," "Intel VT-x," or "AMD-V" and enable it. Save and exit.
Issue: Installation is very slow
Solution:
- Ensure you have a stable internet connection
- Try changing the APT mirror to one closer to your location
- Disable Windows Defender real-time scanning temporarily during installation
- Close unnecessary applications to free up system resources
Issue: Audio doesn't work in GUI applications
Solution:
WSLg supports audio through PulseAudio. Install PulseAudio:
sudo apt install -y pulseaudioThen restart your GUI session.
Conclusion
You now have a fully functional Kali Linux GUI running on WSL with access to powerful penetration testing and security research tools directly from your Windows environment. This setup provides the flexibility of Linux without the overhead of traditional virtual machines.
This configuration is ideal for:
- Learning ethical hacking and cybersecurity
- Running security audits and penetration tests
- Developing and testing cross-platform applications
- Educational purposes in controlled lab environments
Important: Always use penetration testing tools responsibly and only on systems you own or have explicit permission to test. Unauthorized access to computer systems is illegal.
To stop the GUI session, simply close the window or press Ctrl + C in the terminal.
To shut down Kali completely, use wsl --shutdown in PowerShell.